Installing a Pax Wardrobe
House, Renovation ·The major parts of our renovation are finished, but we continue to work on little details around the house. Plus there are items that I want to complete in a DIY fashion so I feel like I built something in the house.
In the previous incarnation of our master bedroom, the closet was far too small, to the point where I kept my clothes in our son’s bedroom. The new master closet is quite large (not walk-in size), but it needed a bit more to make it functional. I installed some Ikea Pax units to organize the space.
The first constraint is that there is a fun “trap door” that passes from our son’s closet into our closet, and we couldn’t block that off with the boxes of the Pax system.
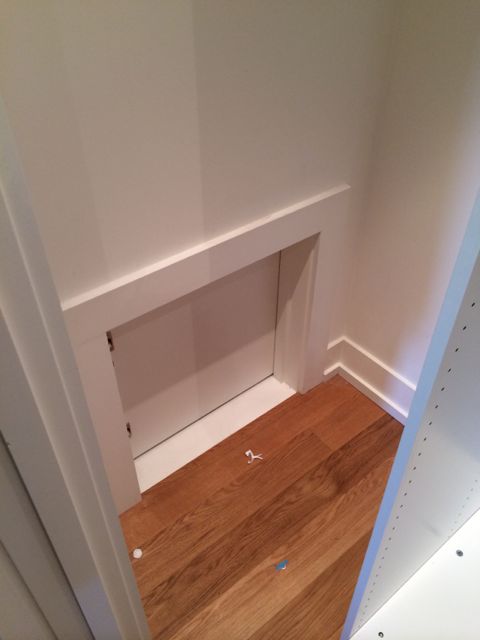
This constraint meant I would have to customize the left-hand part of the closet
I elected to:
- center a 40” wide unit in the middle of the closet. This unit will have a half-height clothes rail for shirts, etc, and pull out drawers below
- the right hand side would be a 20” wide unit. It too will have a half-height clothes rail, and then shelves and a shoe rack.
- the left hand side would be a full height clothes rail and not block the “secret door”
The Pax units are about 24” deep. Our closet is about 36” deep. Fortunately, our awesome contractor Tom offset the pot lights in the closet to the front, so that in this case the pot lights are not blocked by the Pax boxes.
One note: The Pax units are very heavy and awkward to lift. I had difficulty getting all the parts on the roof of my Subaru, and I like to think that I’m not a weak dude. Consider getting delivery if you’re going to install these.
I built the two boxes outside the closet.
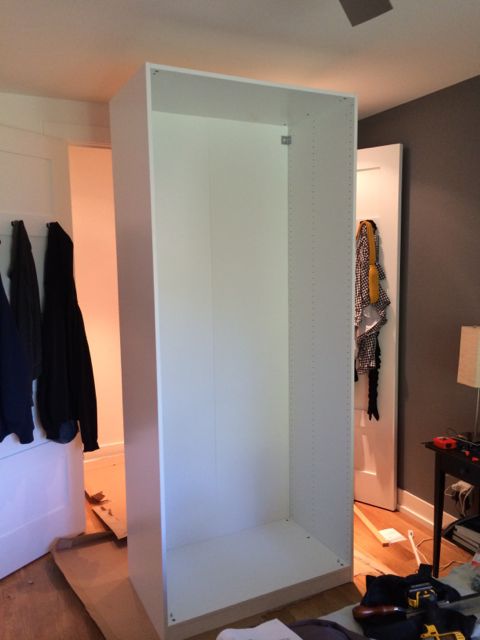
One thing I didn’t account for is that the Pax units are taller than the door. I realised this, of course, but didn’t think it through in terms of angling the units up and under the door header. Lots of swearing later, I got the first box in place. You may want to construct the box inside the closet to avoid this problem.
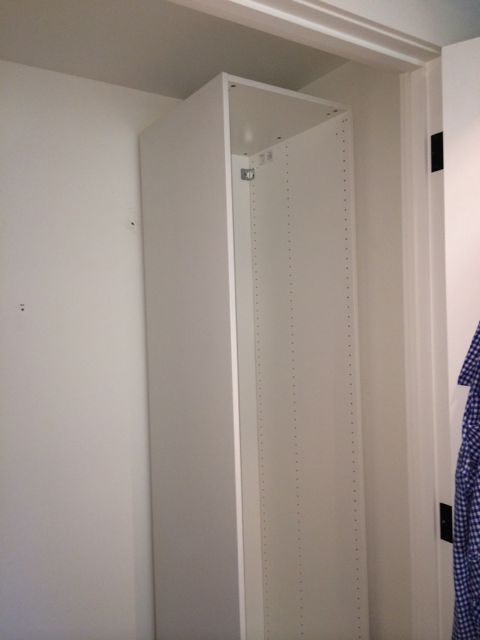
The next issue I had is that I didn’t want to change the baseboard and trim. Some DIY Ikea Hack projects (e.g. http://www.centsationalgirl.com/2011/11/from-billys-to-built-ins/ ) will use a Dremel to cut the baseboard. Instead I shimmed the side and the back of the Pax units when attaching them to the wall to account for the 1” of space that the trim takes up. I used 1x2 MDF trim and slide it in place to hide the gaps.
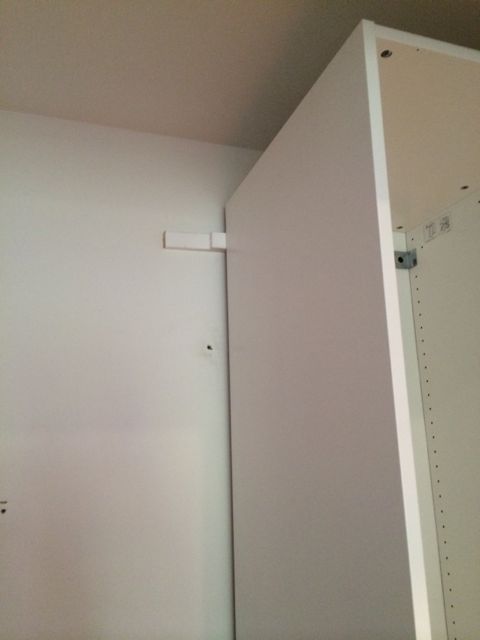
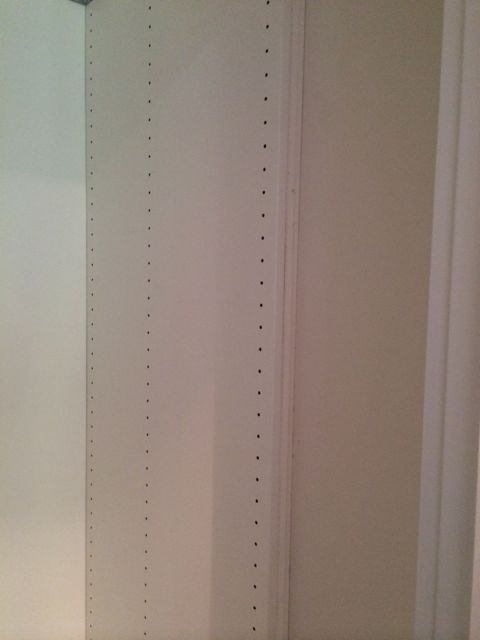
It also helps to break out the level at this point.

The Pax have cool hidden levelling feet that are good for getting everything square. And screwing it to the wall helps.
I did the same with the large box, and then screwed them together with particle board screws.
The next issue was the fact that the boxes don’t go all the way to the ceiling (if they did, I never would have got them into the closet!) I elected to build a bulkhead on top of the Pax using some 2x2s.
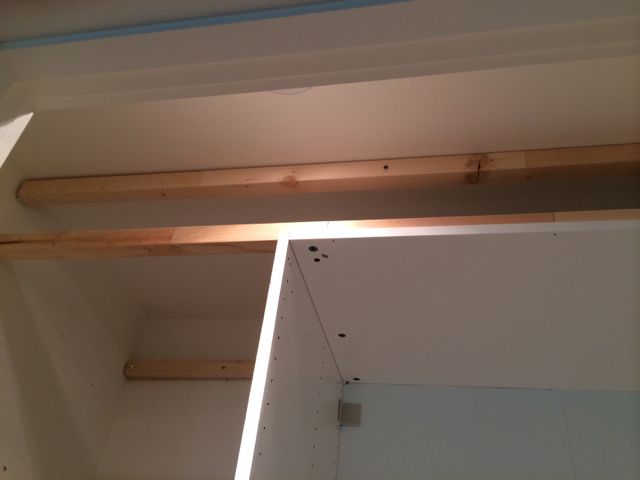
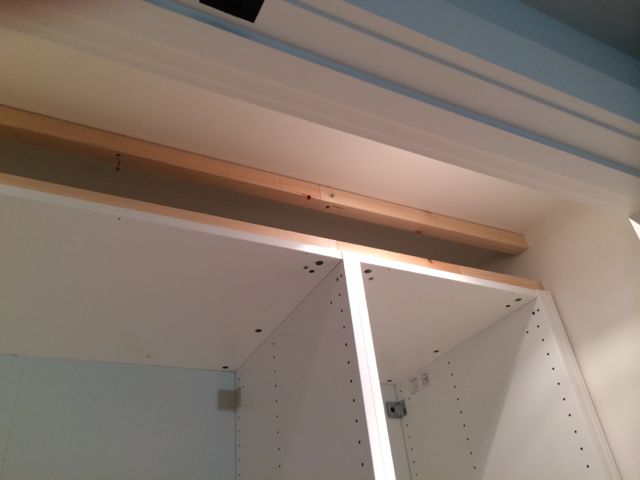
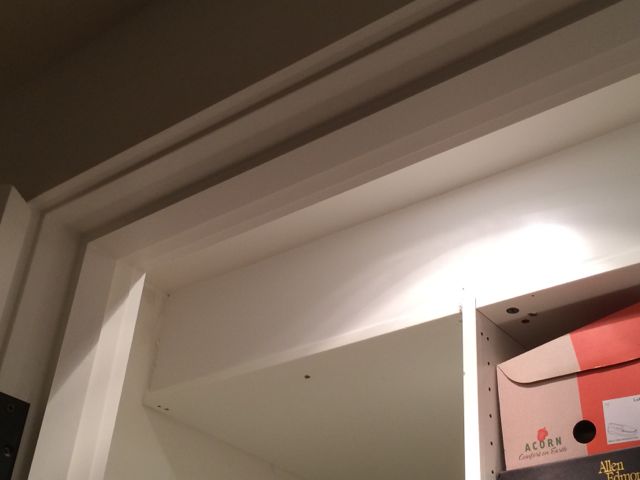
I then covered the front of the bulkhead with a ripped piece of painted MDF from Home Depot, and the bottom of the left side with an extra Pax shelf I bought and cut to size.
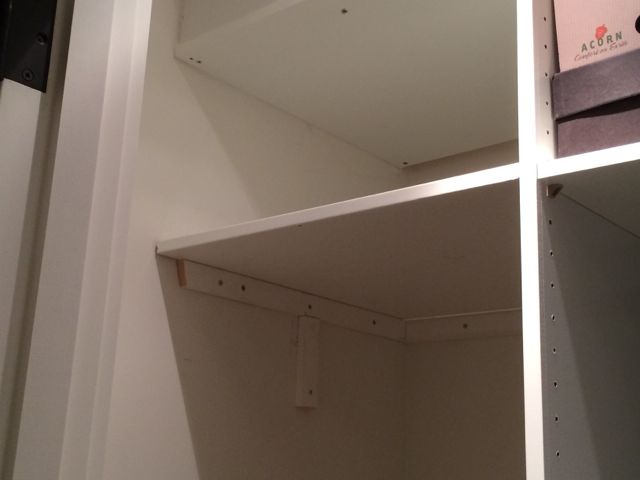
Finally on the left side I built a shelf rail at the same height as the top shelf on the main Pax units and added the clothes rail at the same height.
I finished off the Pax units with the drawers and accessories.
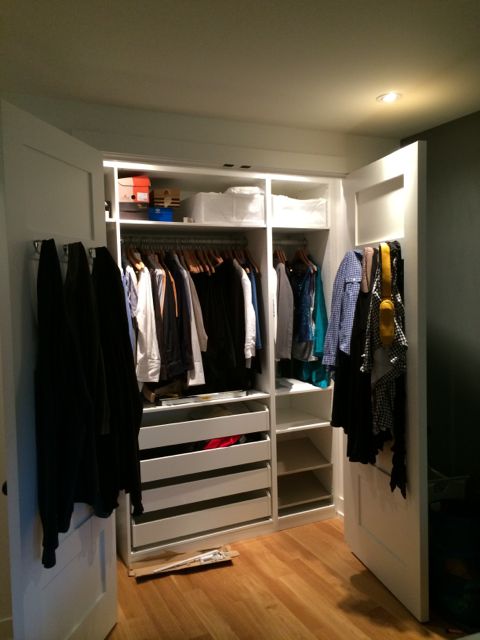
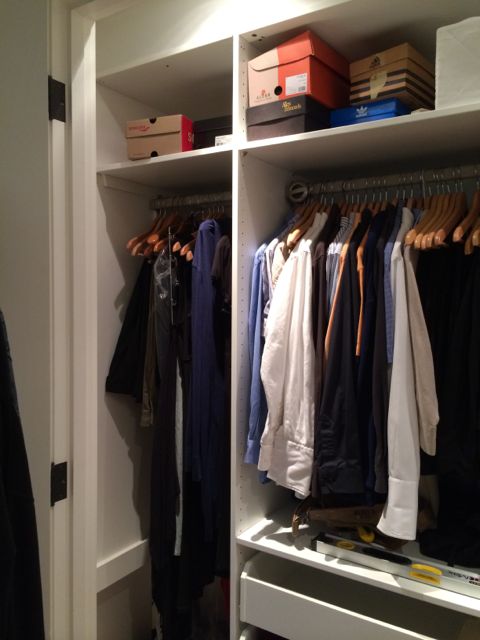
I’m pretty happy with the way it worked out, and it’s given us a lot more storage that can be hidden behind closed doors. I think it cost a fraction of what a custom closet builder would have charged, and the result isn’t too shabby. It took about 2 weekends to complete. And it’s good practice for my next DIY Ikea Hack — installing built-in Billy bookcases.
