Building Built-in Bookcases from Billys, the Beginning
House, Renovation ·After building the Pax closet organizer, I wanted to try my hand at a set of built in book cases. There are a number of how-to’s on the web, and this is a pretty common idea:
- From Billys to builtins
- Jenny Komenda’s Billy built-ins in her old Brooklyn place (also a great DIY blog)
- Ikea Hackers built-ins around French doors.
- Storefront Life (cool Toronto blog)
I planned to put my bookcases in our guest room and completely fill the wall opposite the door. The guide that I followed most was from Storefront Life. Our wall is 164” across, and has 1/2” baseboard and 1/2” trim, giving me 162” of free wall space. Unlike some of the other built-ins “how-to”s, I did not want to cut the baseboard, mostly since Tom the contractor did such a nice job of it. Instead I elected to build a base to lift the bookcases above the baseboard.
Each Billy is 31.5” wide, so I fit 5 units into the 164” space, with about 6.5” of space that I would have to shim. Some blogs attempt to evenly spread the space between all of the Billy units, which would give me about an inch per joint between bookcases to shim. Instead I elected to keep the book cases tight together and shim about 3” at the each wall. I’ll return to this point in a later update.
Tools for this section:
- Impact driver for screws
- Hammer for attaching the back of the bookcase to the Billys
- Mitre saw
- wood glue
Materials for this section:
- 5 Billy bookcases in white ($70 each)
- 5 Billy extender units ($35 each)
- 5 2x4 x 8’ lumber (about $3 each)
A quick note: Billys are all MDF, and very heavy. It took a ton of effort to get them onto and off of the roof of my car. Consider delivery if you are getting more than a couple of units.
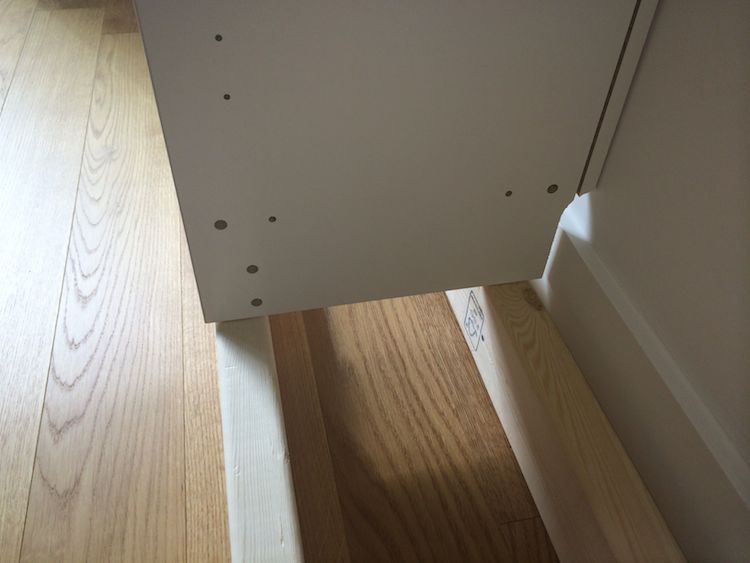
The first step was to build a base on which the bookcases would sit. The Billys have a notch in the back so that they can go over trim and sit flush against the wall. Unfortunately that notch is only about 2” tall, and our baseboard is 5” tall. So to get the bookcases flush against the wall, I had to build a base at least 3” tall.
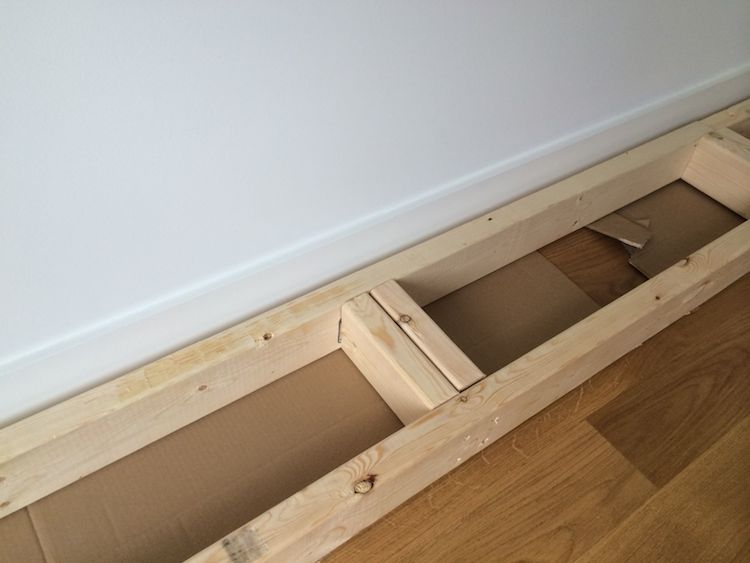
I simply built a base of 2x4’s on end to give the clearance. Here you can see the base with a side of the bookcase held up to show the notch clearing the baseboard.
I put cross pieces of 2x4 in the base where the sides of the bookcases would rest. And the box from the Billys made a great pad to prevent the floors from getting scratched up.
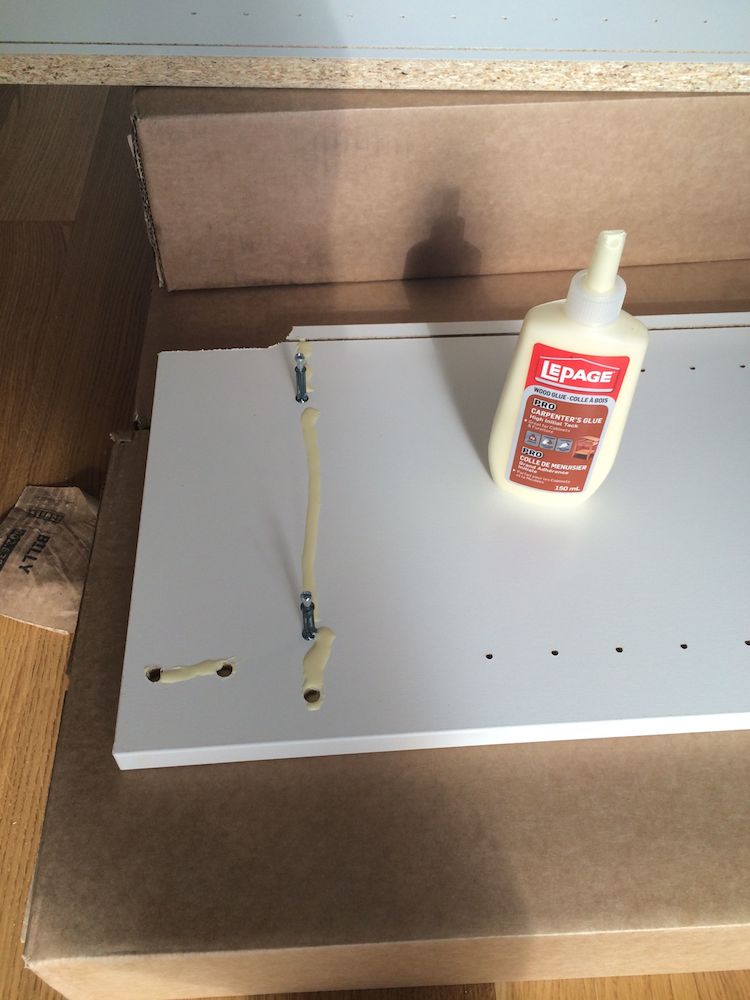
The next step was to build the Billy bookcases. They are straightforward to build. I used extra wood glue on the dowels for strength.
It was critical to get the centre bookcase done correctly, for two reasons:
- I wanted it centred on the wall so that the side shims would be the same width
- There are two plugs (one outlet, one cable/phone jack) that have to be cut out of the back of the centre bookcase to be usable.
I spent a lot of time transferring the measurements from the wall to the back of the bookcase to get the location of the outlets correct.
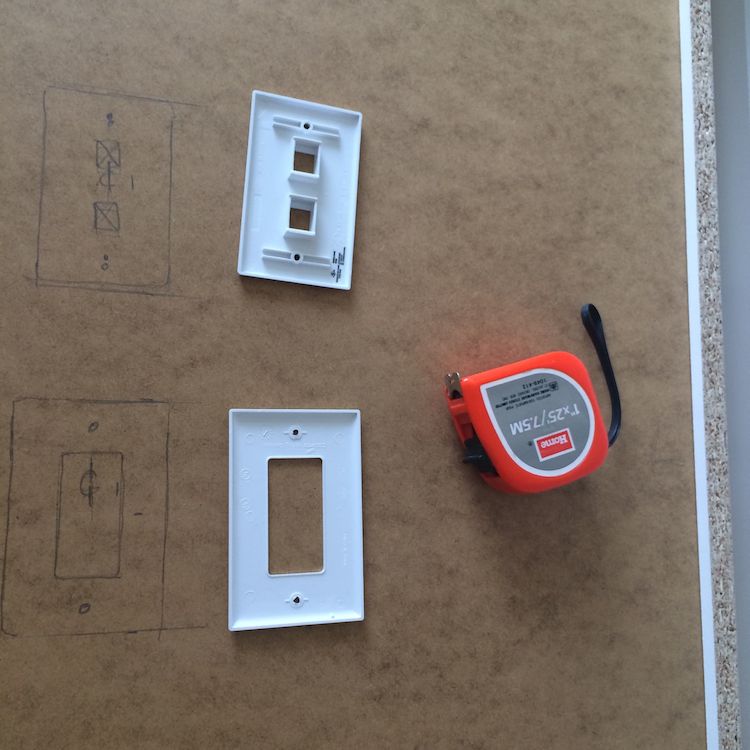
All I can say is “Measure about 100 times, cut once.” More on that in a later post.
After the first one was done and in place, I built the extender unit to see what it would look like in place.
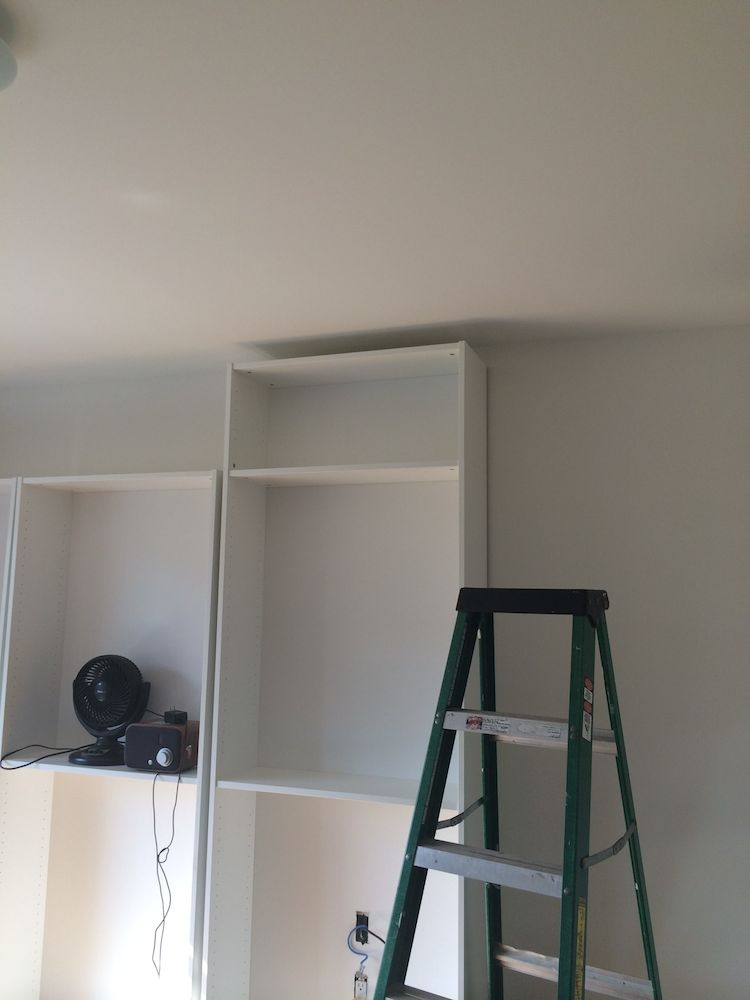
That was enough for the first weekend. More in Part 2.
