Building Built-in Bookcases from Billys, the Bridge
House, Renovation ·After part one of installing the Billy built-ins, here’s the next section.
In this part, I assembled all the remaining Billy bookcases and header extender units. After that I had to:
- Shim the bookcases to be level
- Anchored the main bookcases to the wall
- Secured all the bookcases together
- Added blocking on the top and sides of the bookcases so that I could then add the trim I needed to “build them in.”
Tools for this section:
- Impact driver for screws
- Clamps for holding the bookcases tight
- Mitre saw
- 2’ Level
Materials for this section:
- 2 2×3 x 8′ lumber (about $3 each)
- Scraps of 2x4 for blocking
- Pre-cut wood shims for leveling.
- 1-1/4” Particle board screws
- 1-1/2” Wood screws
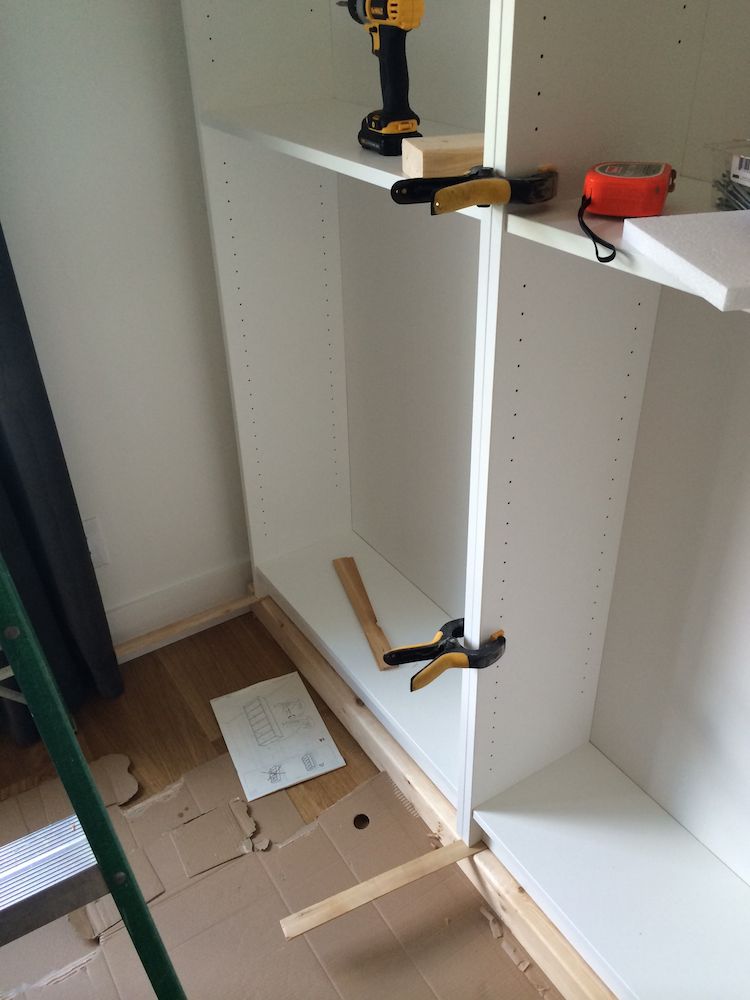
I started with the centre bookcase and worked my way outwards. I shimmed the bases of the bookcases to level them vertically, and then attached them to the wall. I affixed the “L-bracket” that Ikea provides to the wall and then to the top of the bookcase. I did it in this order so that I could attach directly to a stud in the wall, and the studs are not necessarily in the middle of each bookcase. I also anchored the bookcase before adding the extender units. Once the extender unit was on, there was only about 3” of space between the ceiling and the extender, so it was difficult to get a screwdriver and drive the screw into the wall. The extender is designed to slip over the L-bracket when installed, and one can’t see the L-bracket unless one is on a ladder, so it works out.
Once the centre book case was attached, I leveled the one next to it, clamped it to the centre bookcase, and attached it to the wall, repeating the process over the remaining 4 bookcases. I also used particle board screws to hold each bookcase to its neighbour.
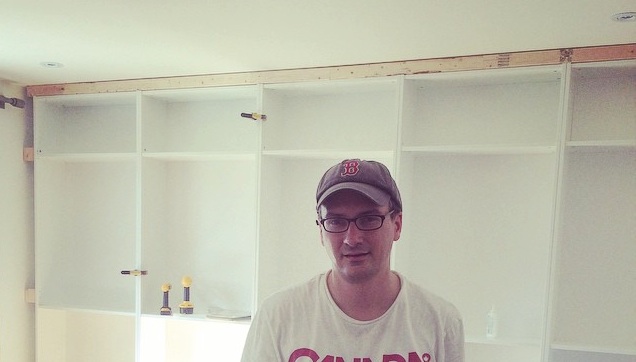
Once that was done, the bookcases looked like this. I had about 3” of clearance on the top, and about 3 1/2” on each side.

At this point, I inserted blocking around the gaps. I will be attaching 5/8” MDF boards in various widths to the blocking to “build in” the bookcases. For the top, I got lucky and it was almost exactly a 2 1/2” gap. I bought a 2x3” lumber and ran it across the top.
For the sides, I was out by about 1/2”. The left side was a 3 1/2” gap, and the right side was a 2 1/2” gap (should have been 3” on both sides). Not sure exactly where I made the mistake. I don’t think the walls are out – Tom the contractor was pretty precise.
I blocked the left side with scraps of 2x4”, and the right side with scraps of 2x3”
Trimming and painting to follow in part 3.