The Network
Toronto, Tech, Shopify, House, Covid ·Well. I said “I’m back” back in February. I guess COVID got in the way. However, one good thing about the fact that Shopify went to permanent remote work is that we got to improve our home networks.
Here’s what I did to improve my in-home networking.
Step 1: Get the hardware
When Shopify began their move to WFH, they made recommendations for networking hardware. They recommend either Google Nest for smaller homes, or Ubiquiti’s Unifi Dream Machine for larger homes. I jumped to get the UDM. (But in the future, I’d love to consider the UDM Pro, because it removes the need for the router and allows for SFP+ directly in the device.)
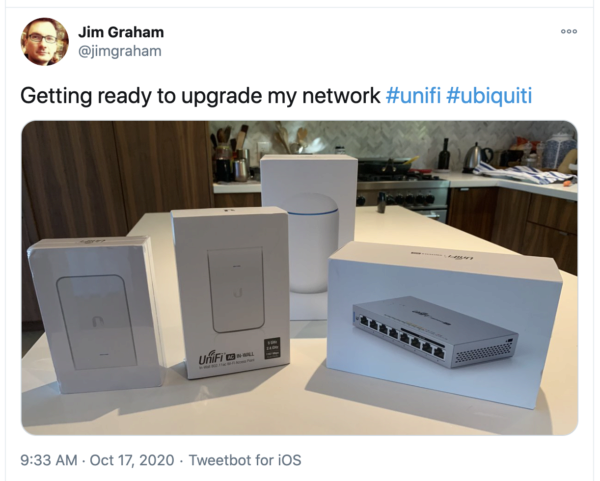
So, with the UDM in hand, I then ordered:
- An 8-port (4 PoE) switch
- An in-wall Access Point with 2 ethernet ports
- An in-wall Access Point with 4 ethernet ports
Step 2: Brag on the internet
With the gear in hand, I next bragged on the Internet. Critical step.
Step 3: Increase the pipe into the house
I’m on Bell Fibe as my internet provider. I had promised to never go back to Bell due to a bad experience with cellular back in the day, but when they came knocking last year with fibre to the house (FTTH), I couldn’t resist. I had been jealous of my condo—dwelling friends with Beanfield for a while, but Fibe gets me close.
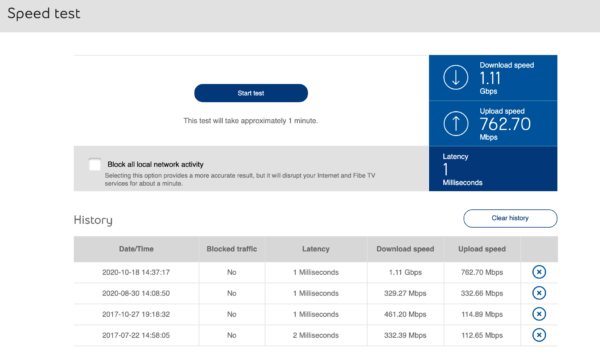
At the time, they were only offering 300/300 Mbps with a promise of more to come. That had been fine until all members of the family started to work full—time from home on the internet. It was an easy +$10 / month to go to 1000/750 Mbps up/down, and I haven’t heard complaints.
The before and after:
Step 4: Drill into the walnut built-ins
Because of where the Bell fibre line comes into the house, and where our entertainment system sits, the Bell router (the “Home Hub 3000” HH3K) sits on a shelf in our living room. Ideally I would move this to a utility room in our basement (and replace the HH3K with the aforementioned UDM Pro). That may happen when we renovate our basement, but for now I had to place the UDM near the router.
That meant drilling a hole in the walnut veneer cabinet.
This was the most difficult part of the whole project; convincing my wife that the damage to the built—ins would be offset by the improvements in the networking. I definitely had to measure twice, drill once.
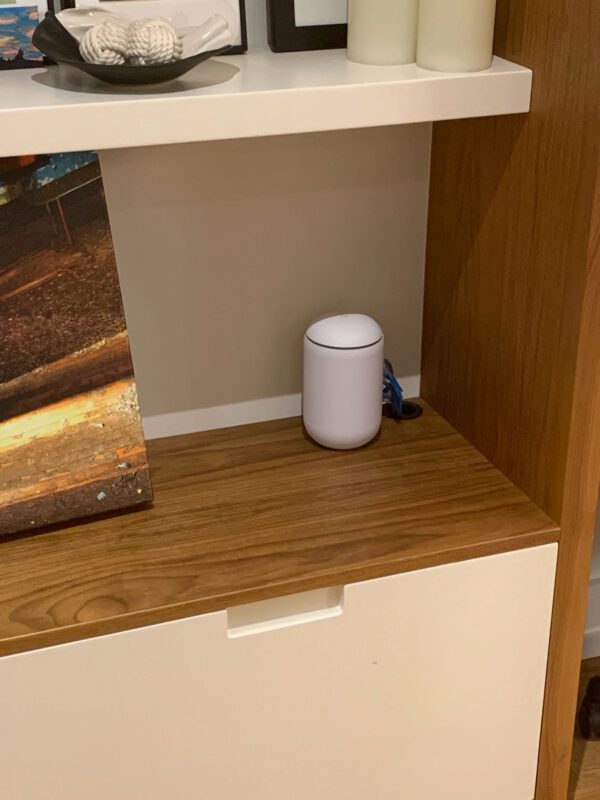
The other advantage of the drill hole is I can now get a turntable for Christmas!
The UDM got its WAN IP from the HH3K. Fortunately the HH3K was set up on 192.168.2.1 and the UDM defaulted to 192.168.1.1 so no collision and easy to get on-board
Step 5: Wire up the rest of the house
The next steps were pretty straightforward. The first thing I did was start running new wiring where I bothered to label both ends of the cable. I wired the HH3K router into the UDM WAN, and then the 3 outputs of the UDM to
- a cable in the wall that runs to the basement service room,
- the Apple TV in the entertainment center
- the Marantz receiver in the entertainment center
The wire to the basement runs to a service room. There I have distribution to the other locations in our house.
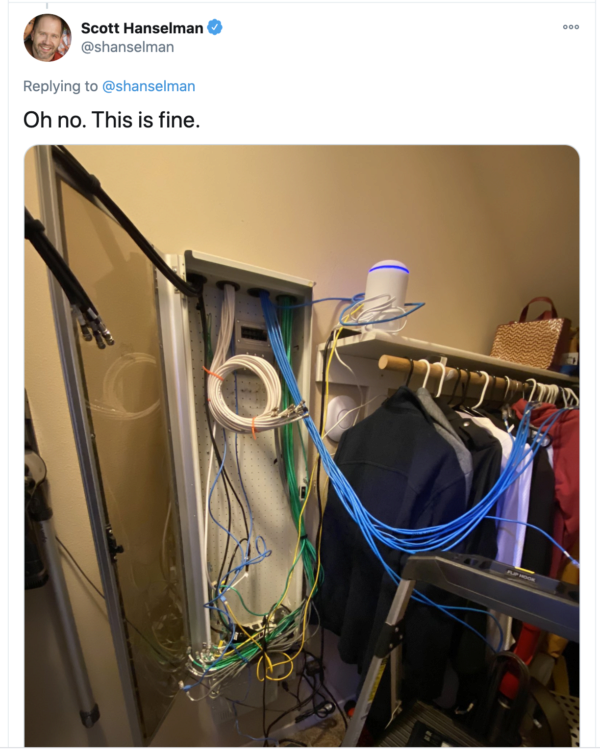
This was the biggest mistake of our renovation. We did not do enough runs to various parts in the house. If you read Scott Hanselman or Troy Hunt, they have 25+ gigabit wires run to every closet.
Instead, the contractors ran one line to each floor. They did run coax cable, though. I can foresee myself punching lots of holes in walls in the future, but I have to work up to convincing my wife that it will be totally worth it.
My patch panel looks like this:
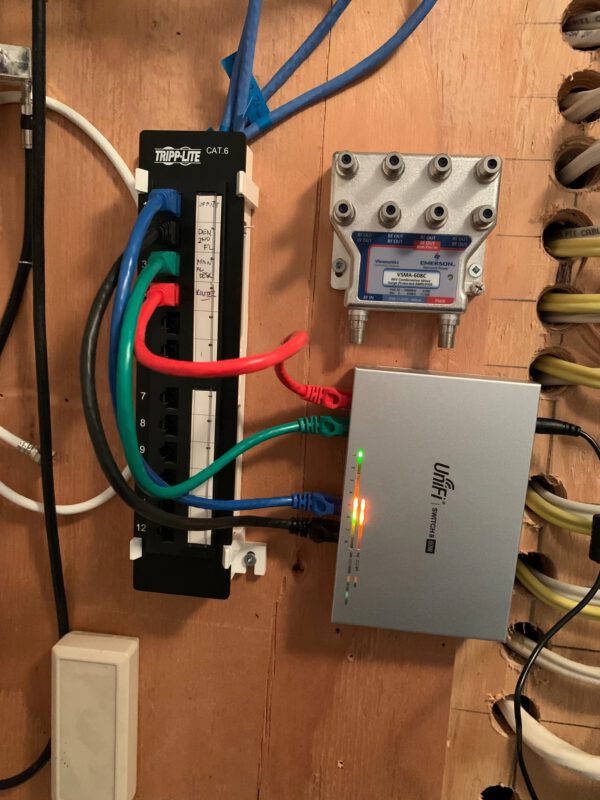
Two things I managed to improve;
- Figure out which wires ran where, and label them
- Put the Unifi switch in place, that allows for power-over-ethernet to drive the access points on the 2nd and 3rd floors.
Then it was pretty straightforward to install the APs on the other end of those runs.
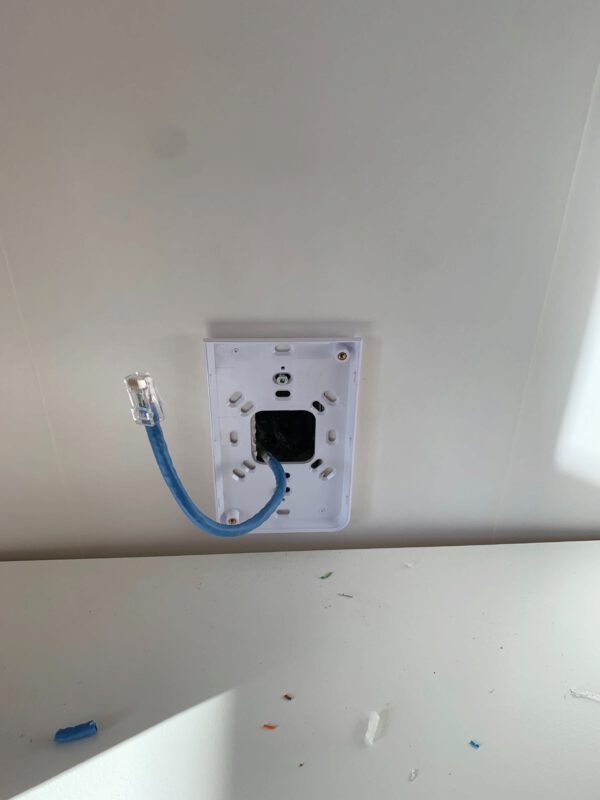
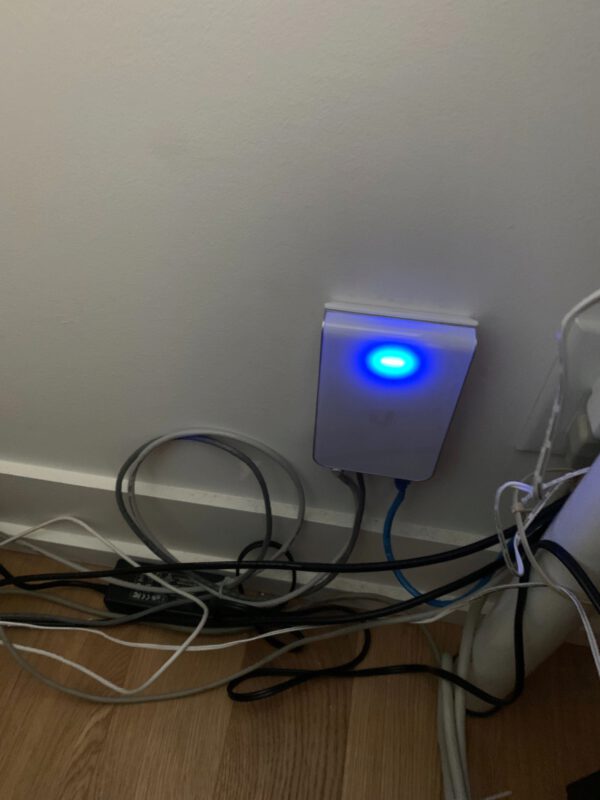
The AP in the office is a 4-port output along with the wireless access point. This nicely allows us to run 4+ devices (my laptop, desktop, my wife’s work computer, the boy’s gaming rig, and the printer) all wired into the AP (with one little switch near the printer), and remove at least one of the janky switches I had before.
Step 6: move all the devices to the new network
The next step was to move all the wireless devices to a new SSID I created. I don’t really know if this was necessary; maybe I could have just spun up the new SSID with the same name as the old one, but this seemed safer. At this point, the Home Hub has 3 clients; 2 of the set-top TV boxes that have to stay on the Bell sub-net (there are ways to remove it, but seem overly complicated), and the UDM itself.
Step 7: Marvel at the new toys
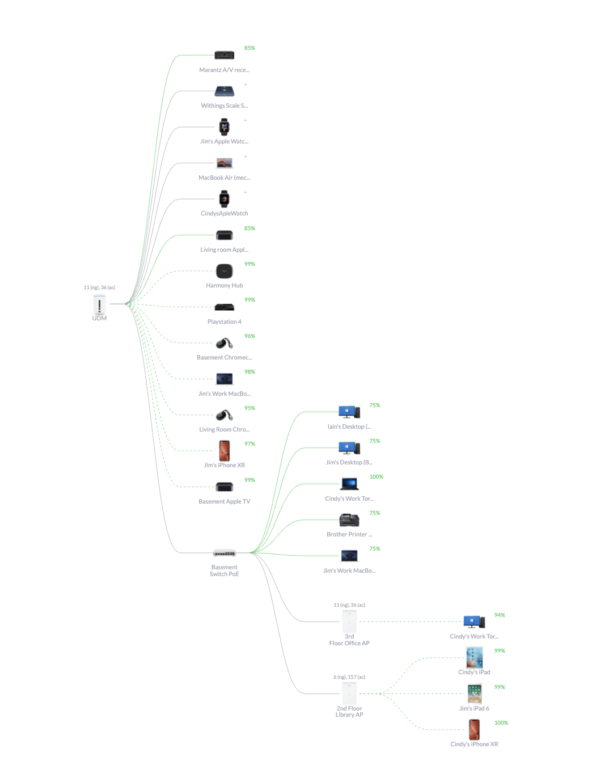
At this point, I was feeling pretty good. I had configured the network using Unifi’s extremely slick management software, placed all the devices on a map, renamed all the clients, and sorted the correct icons, like Troy Hunt (no, seriously, that set-up is sick.)
Mine looks like


Step 8: Boast on Slack
Finally, I joined the #ubnt Slack channel at work

Step 9: Feel disappointment about the one not-perfect thing
The only thing that bums me out about the whole endeavour comes back to the mistake of not running enough cables. The run to the 3rd floor office, where we all sit and have the most devices, can only get 100 Mpbs
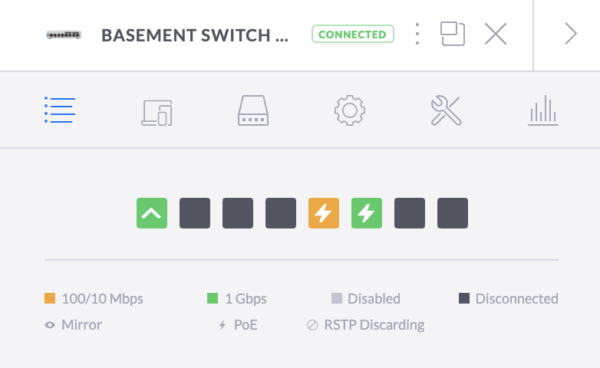
I think this is due to a faulty cable in the wall. I’ve re-crimped the cable at both ends (and I’m running out of cable in the office to try again). It’s really driving me bananas. I’ll have to reconsider running new lines (and ripping open walls to do it) when we redo our basement and build the full man-cave. Maybe next Spring.
Conclusion
I love the gear, the software, and how rock-solid the network has been for the last two weeks. Just can’t recommend it enough.

